Tidy Up Your Garden Beds with EasiHold: A Real-Life Backyard DIY That Works
Let’s be honest – if you’ve ever had mulch or pebble beds in your garden, you know how quickly things can go from “Pinterest-perfect” to chaotic. Between foot traffic, pets, kids, and the weather, it’s almost impossible to keep your pathways and borders neat without constant upkeep.

That’s why I was so excited to try Easihold, a non-toxic, eco-friendly gravel binder that promises to keep mulch and stones in place without hardening into concrete. And now, after applying it myself in our backyard garden and walkway, I can confidently say: this stuff works.
The Problem: Garden Bed Mess + Maintenance
Our backyard has a mix of pebble borders, mulch beds, and a small walkway – and while I love the natural look, I do not love:
-
Pebbles constantly spilling into the lawn
- Dogs picking up pebbles for toys or kicking them lose when they run
-
Mulch tracking into the house (thanks, kids!)
-
Garden edges looking messy only a few days after cleaning them

With kids and dogs running around, I needed a solution that made our outdoor space look good, stay clean, and stay safe.
The Solution: leasehold
I discovered Easihold while researching eco-conscious ways to manage our mulch and gravel beds. It’s a non-toxic, water-based binder that lightly “locks” your loose stones or mulch into place – no heavy equipment, no concrete, and no harmful chemicals.

Here’s why it immediately stood out to me:
-
Safe for kids, pets, and plants
-
No dust or harsh odor
-
Keeps everything in place but still looks natural
-
Easy to apply (no fancy tools needed!)
Easy DIY Application – Step by Step
Applying Easihold couldn’t have been easier. I did it all in one morning while the kids were still asleep!
-
Clean & prep: I raked up the old rock, removed the broken pavers and leveled the pathway.
- Install: Once the pathway was leveled, I placed the pavers down. Then added the stone around each paver. Once I went all the rock into position. It was time to spray.
-
Spray: Using a simple garden sprayer, I applied Easihold in even layers over the top of the pebbles.
-
Let it dry: I let it sit and dry fully for about 24–48 hours with no rain. That’s it!

Once the pathway was done, I headed into the garden area and sprayed down all the stone in there.
Tip: One bottle covered more than I expected – a little goes a long way.
Before & After – The Real Difference
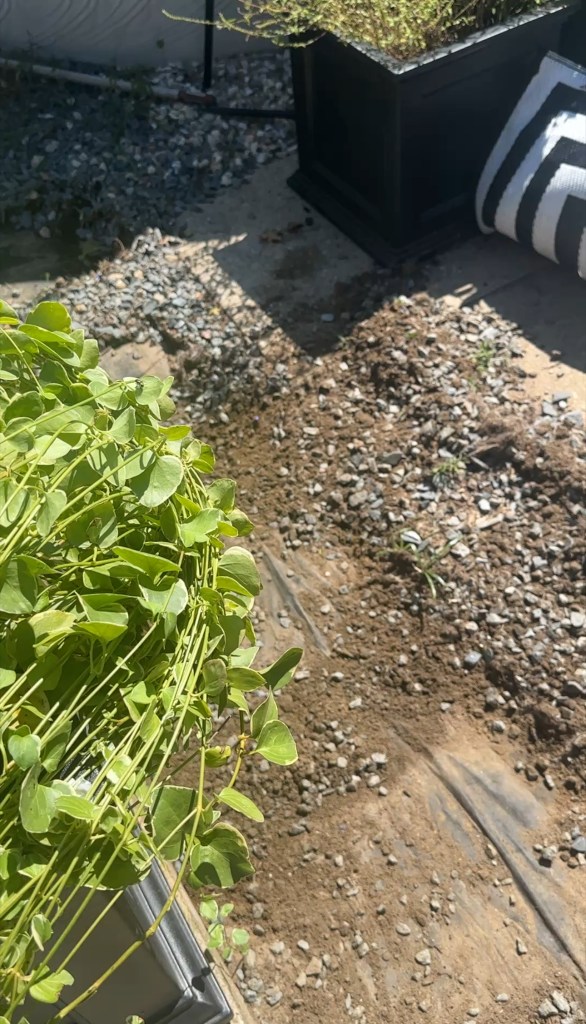
Before: Our gravel beds were uneven and the stone was constantly drifting into the walkway or onto our patio.
After: Everything stays neatly in place, even after rain, backyard playtime, and dogs running through. No more pebbles scattered everywhere. It still looks natural -just cleaner and more controlled. My only wish was I did this sooner!


Family-Friendly Benefits
This has honestly been a game-changer for our household. With two kids, 2 dogs, and a constant rotation of outdoor shoes going in and out of the house, I was over the daily sweeping and resetting the garden edges.
Now:
-
No more rocks kicked all over and dirt/sand tracked inside
-
No rocks underfoot in the grass
-
No sharp borders – just smooth, soft-set ground cover
And I love knowing that it’s non-toxic, so I don’t have to stress when the kids or pup are playing nearby.

Final Thoughts: Is It Worth It?
Absolutely. If you’re looking for a low-maintenance, eco-friendly way to clean up your garden beds, walkways, or stone areas, Easihold is worth every penny. It keeps your outdoor space looking polished and family-friendly with way less effort. I can’t wait to do our mulch beds out front next.
It’s one of those small upgrades that actually makes a BIG difference. Shop Easihold HERE
Pin & Save This Project
Don’t forget to pin this post for your backyard garden inspo!
And if you have questions about the process, feel free to DM me on Instagram @anewdawnn or comment below – I love sharing real-life home tips that work.
Dawn


